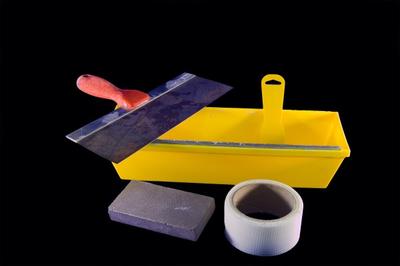
As a drywall guy, I learned early on how to repair the old plaster we often came across in remodeling projects. Using our drywall experience, my boss and I treated plaster cracks like drywall seams – and it worked.
It’s not rocket science. The old finger and spackle trick doesn’t do it, because the plaster cracks need to be reinforced, not just filled. Gluing down drywall paper tape in a bed of joint compound over plaster cracks provides that reinforcement. A couple of topping coats over the tape and the crack is gone.
The tricky part is blending in the patches to match the surrounding texture. Much of this comes from trial and error experience.
If a plaster wall has multiple cracks, it may be necessary to skim out the remainder of the wall (or ceiling) and then start over on the new surface with a new texture – or leave it smooth if you prefer.
Either way, you will need to apply a good coat of PVA drywall sealer before you paint.
Holes in plaster require their own special approach. If there is backing visible in the hole, the repair is simplified. If backing is missing, then it must be installed before the drywall patch material can be placed.
Small holes can be filled easily with quick set joint compound. It is the larger holes that require the drywall patch. Use whatever thickness of drywall most closely corresponds to the plaster thickness. You want the patch to be level with the surrounding plaster.
Water damaged plaster presents its own challenges. But, fortunately that is not too hard to do. And the same drywall materials can be used here as mentioned earlier.
Doing plaster repair right means following tried and true techniques, and some patience and motivation on the part of the homeowner.


