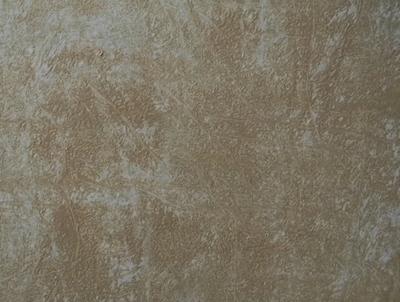
The look of fine leather walls can add a beautiful look of distinction and class to many areas of a home. However, real leather can be quite expensive to decorate with. Additionally, many people have concerns about using leather, since it comes from animals. You can avoid the moral dilemma of using leather while saving money at the same time by simply applying a leather faux finish to your walls.
Step 1: Choose Your Paints
To create the beautiful look of fine leather, you will need pale pink satinwood paint, as well as artists’ oil paint in crimson. However, since real leather is often dyed in various colors, you can choose other colors if desired to create your own faux dyed leather surfaces.
Step 2: Assemble Your Other Painting Supplies
You will need interior filler powder, commonly referred to as casting plaster. You will also need a standard household paint brush, approximately 2 inches wide, a large stencil brush, and a synthetic sponge. Choose a large flat smooth sponge, as it will be used to wipe along the wall surface. Do not use a textured natural sponge. Varnish suitable for application over oil paint is also needed.
Step 3: Apply the Base Coats
Prepare the surface by applying a base coat of the pale pink satinwood paint. Let dry completely.
Step 4: Add the Texture
Then mix the pink satinwood paint with enough casting plaster to form a paste-like consistency. Using a sturdy paintbrush, dab this over the wall surface until it is covered completely. Then, using the tip of the brush, create a stippled texture by dabbing the brush over the entire surface. Make sure this textured coat dries completely before proceeding to the next step.
Step 4: Apply the Faux Finish
You will be using the crimson artists’ oil paint without diluting it. Squeeze some into a container, and then use a large stenciling brush to dab the oil paint over the entire textured surface. Once the surface has been covered with paint, use the brush to dab and stipple the surface so that the appearance looks even.
Step 5: Remove the Excess Paint and Blend
Using a flat dry sponge, wipe it gently across the surface without using any pressure. The goal is simply to remove some of the oil from the top surface of the paint that was just applied, which helps to create the interesting leather textured look. More paint will remain in the deeper areas of the textured surface, which will help to create the proper faux finished look. Continue this over the entire wall, turning the sponge to a clean area whenever it becomes saturated with the excess oil paint. Use a second sponge if necessary when working on a large area. Once you have achieved the desired leather textured look, let the surface dry completely before proceeding to the next step.
Step 6: Varnish
When dry, topcoat with vanish to protect the surface and add additional luster and beauty to your faux leather finished surface.


