It’s not always feasible to remove existing wallpaper. If your walls are damaged, the paper has already been painted over, or if it was installed directly over unsealed drywall, the best option may be to paint over it. The key to professional results is proper preparation. Don’t be tempted to skip steps to save time or money; you won’t be happy with the finished product!
Clean the walls
Use a clean sponge and a mild detergent solution to remove as much grime and dust as possible from the wallpaper. Sponge again with clear water to rinse.
Remove switch plates and outlet covers
They’re a hassle to paint around. Plus, if you decide to replace them later, your unpainted wallpaper might show around the new cover.
Check for, and remove, loose paper
Tear away any loose paper. If just an edge is lifting, you can secure it with fresh wallpaper paste; just make sure it is stuck down completely, or it will lift again, taking the paint with it.
Prime with a tinted shellac primer
Priming is critical. It seals the wallpaper from moisture, which keeps the adhesive stuck firmly to the wall and prevents the inks in the paper from bleeding. Shellac primers are smelly and messy, so make sure the room is properly ventilated and take a break if it starts to bother you. Use denatured alcohol to clean up. Most shellac primers dry in an hour or less.
Sometimes the wallpaper will bubble up; slit the bubble with a razor knife and stick the paper back down. Seamseal or regular glue can be used to keep the paper from comong loose again. Apply another coat of primer to the area once the paste is dry.
Patch flaws and seams with drywall mud
Use a very wide drywall knife to apply drywall mud to seams, scratches, and other flaws. The goal is to have a perfectly smooth surface for painting, so you may have to skim-coat the entire wall if the wallpaper has a raised pattern. Pay special attention to the seams, these will show through the paint if not properly skimmed.
Allow the drywall compound to fully dry before continuing.
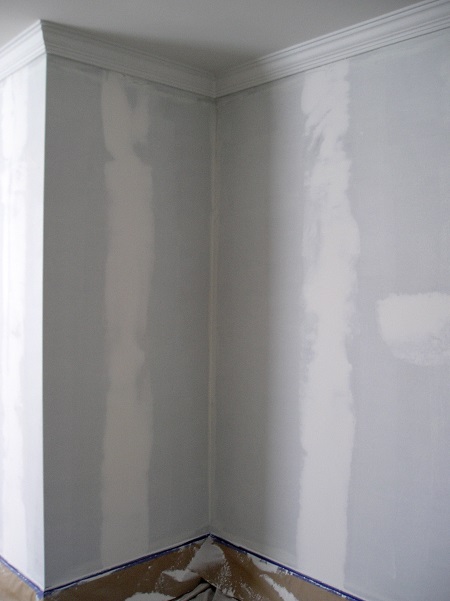
Sand smooth then prime patched areas with acrylic primer
Sand the puttied or skimmed areas smooth with a sanding sponge. If the area still isn’t completely smooth, apply another layer of mud and sand again. Make sure you have adequate light; you can use a flashlight to check a damaged area from several angles to make sure it is flush. Running your hand over the area is another good way to check for lumps and bumps.
Go over the seams and patches with a high quality acrylic primer. If you had to skim-coat the entire wall, you’ll also have to prime the entire wall. Sorry.
Mask off any areas you don’t want painted
Use low adhesive painter’s tape to mask windowsills, doorjambs, moldings, baseboards, and anything else you don’t want painted. Large areas can be covered with masking paper or plastic.
Optional – Texture over the wallpaper
If your skim coat wasn’t enough to mask a heavily embossed paper, texturing the wall can help disguise it. A five gallon bucket of joint compound should be enough to texture one room. Mask along moldings and baseboards. You could try a skip-trowel look by applying the compound with a 4-6″ putty knife. You may want to experiment, first, on a piece of scrap wood until you find a technique you like. Let it dry completely, then using a damp sponge, smooth any rough edges.
There are many types of drywall textures. Many are easy to do. Even aerosol cans of spray texture are available-just point and shoot.
Paint
If you’ve opted to texture your walls, you’ll need to prime again. Use latex primer, and be thorough. Once dry, apply two coats of latex paint with a roller. Flat and eggshell paints are more forgiving of flaws than satin’s are. Darker colors are more forgiving than light ones. Use a medium to high napped roller for the best coverage.
If you want to try a decorative finish, now’s the time to do it.
Clean up
Cleaning up latex paint is easy, as long as the paint’s still wet; just rinse till the water runs clear. Remove masking tape and replace the switch covers and outlets. You’re done!