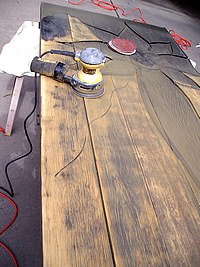
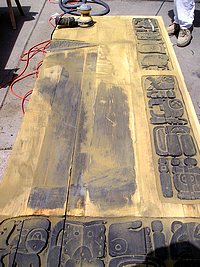
The first step to a great finish is the removal of the old and sanding the wood doors was a big part of this job. We started sanding the wood doors with some aggressive sand paper, then progressed to ever finer paper. Here are the procedures we used to remove the refinish from these custom entry doors.


Power sanders are a must for this job. We used two different types, a random orbital and palm sander. The was used first with 80 and then 120 grit sanding discs. These grits can quickly cut through most finishes and stains. The was used for finer grit papers, 150 grit then 180 grit sand paper.
The reason for using so many different sanding grits is the scratches left behind. Each sanding grit leaves behind scratches in the woods surface, the finer the grit the finer the scratches. When a wood stain is applied it fills the scratches with pigments. If the scratches are large they will show, finish power sanding with 180 grit paper.

The carved areas couldn’t be sanded with power sanders. We hand sanded with a sanding sponge and used a small brass wire brush to remove any flaking finish. Now we had finished sanding the wood doors and they look great. At this point we could have skipped the staining and applied the finish, but the homeowner wanted the doors to be stained.
Part 1 – Refinishing a Custom Wood Door
Part 3 – Staining the Custom Wood Doors
Part 4: Applying Wood Varnish to the Custom Entry Doors


