A new look is what you want, and refinishing kitchen cabinets can provide this without emptying your bank account. New cabinets can cost a small fortune. Refinishing is considerably less costly than all-new cabinets. While you still may not consider the cost of refinishing cheap, yet refinishing is by far the least expensive option.
Many cabinet refinishing projects are excellent for the do-it-yourself homeowner. All that is required is some time and a couple of good tools. The steps involved with refinishing kitchen cabinets are straightforward.
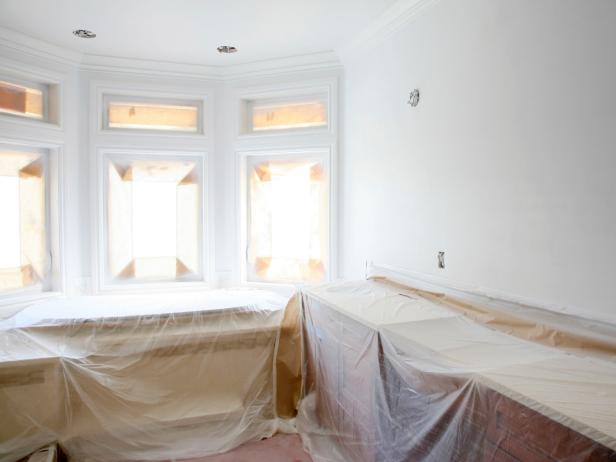
To make the refinishing job easier, doors and drawers should be disassembled.

To start this project, remove all knobs or pull-handles. There is minimal difference between knobs and pull handles, so usually all you need to do is ensure you keep knobs and their screws together and pull handles and their screws together. Zippered bags are very useful for keeping things organized. Just mark each bag with what it contains.
All screws and knobs should be placed in a container and clearly marked as to where they belong.
Next, remove the doors by unscrewing the hinges. Immediately assign the door a number, in a spot that will be covered by the hinge when you put the door back up. Now, put a small piece of tape with the same number written on in inside the cabinet near the hinge holes, but out of the way of the area you will be staining or painting.
Some cabinets have the hinges on the face of the cabinet. These will need to be removed. Keep the screws and hinges together in a zippered bag. Mark plainly. If you use masking tape on the inside of your cabinets, you may find the glue hard to remove. Use invisible Scotch tape. It takes pencil very well and is much easier to remove later without ruining the finish.
Now remove all the drawer fronts. Usually drawer fronts are held in place by a few screws which can be accessed from inside the drawer. You can number the fronts of each drawer and the back side of the drawer front as you remove each one. You can leave the drawers in place inside the cabinet.
If drawer fronts are permanent, the entire drawer must be removed. Number the drawers on the inside and stick a piece of masking tape on the inside of the cabinet with the appropriate number so you know which drawers go in which cabinet. Since wood can warp with time, doing this eliminates the challenge of trying to figure out which doors or cabinet fronts go where. If you don’t mark them, you may find the door and drawers not fitting properly.
Taking the time to mark things as you take them down will save you a lot of time and headache. When everything is refinished and ready to be installed, you’ll be so happy you know where stuff goes.