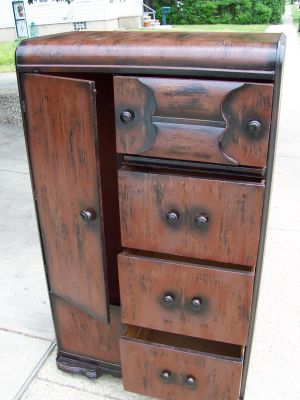
If you are bored beyond belief and want a great way to make use of your time and energy, why not channel your strength into revitalizing those dingy wood kitchen cabinets that have seen one too many seasons. Doing such can transform your dull white kitchen cabinets into a conversation piece that gives your kitchen that updated and fresh new ambiance…and it doesn’t have to cost as much! Yes, you read it right. You can change and elevate your kitchen’s appearance with just a few cans of paint and in under $100. Combine creativity, patience, and imagination, and you’ve got yourself a winning project your family will thank you for.
Many people get intimidated by DIY jobs. To make sure you’re on the right track, try this step-by-step, easy approach to refurbishing your old kitchen cabinets and stripping them off years of dirt and grime.
Step 1: First, figure out what you want. It’s important that you have a clear vision of what you’re going for so that you won’t be tempted to change your mind in the middle of the process when you see a charming new cover of a kitchen design magazine. Make sure to canvas items first and compare and contrast looks vs price to ensure that you don’t go over budget. Make sure you choose cost-effective products. By cost-effective, I mean, more value for money. It’s good to find cheap items but it won’t do you any good if they break after just a few pulls. Buying substandard items could cost you more money than you have planned to spend and that surely is not the goal in your book.
Step 2: Take out all hardware such as doors, handles and hinges from the cabinet. Be sure to inspect the cabinet from the inside out for any rotting parts. Check also if there are any termite-infested areas. Should there be any, make sure to treat the wood first or replace with new parts to retain the integrity of the cabinet. Using a 100-grit paper and a sander, sand the surface, the frames, and the doors to get rid of dirt and make the surface even and smooth. Sanding also helps bring out the fresh wood from underneath the old layer.
Step 3: Apply a fresh coat of oil-based or shellac-based primer, spreading things evenly onto the rest of the cabinet. The primer is an important element in the painting process that acts as a base which prevents paint from being absorbed into the wood. It also prevents stains from being visible.
Step 4: Don’t be afraid to experiment with color. The good thing about paint is that it is easy to re-do when you’re unhappy with the result. Choose a type of paint built specifically for wood, preferably oil-based paint. To be on the safe side, choose a color and style that reflects your personality but one that is versatile enough to go with the rest of your kitchen furniture, outlasting season design changes.
Step 5: Air dry for a few days before use. You want to make sure that your cabinet is completely dry before you use them to prevent paint from sticking on to your dishes. When the cabinet is fully dried out, you can start enjoying them.